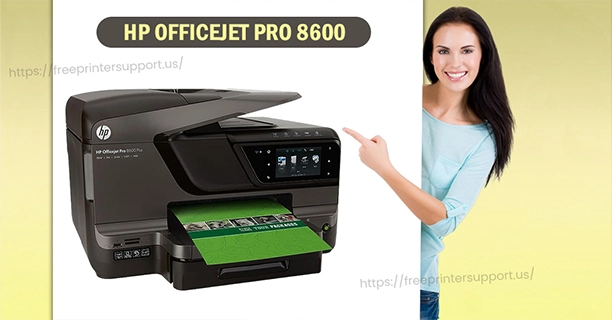
Maintaining the optimal performance of your HP Officejet Pro 8600 printer is essential to ensure high-quality prints and prolong the lifespan of the device. One crucial aspect of printer maintenance is cleaning the printhead. After some time, the printheads might become dirty or clogged, which may lead to issues regarding print quality like streaks, smudges, and faded colours. In this guide we’ll tell you the step-by-step process of cleaning the printhead of your HP Officejet Pro 8600 printer, assisting you to get premium prints every time.
Why Clean the Printhead?
The printhead is a critical component of your printer that contains tiny nozzles responsible for dispensing ink onto the paper. Dust, dried ink, and other debris can accumulate on these nozzles, leading to blockages and affecting the quality of your prints. To get clear and vibrant prints, clean the printhead so that the ink flows smoothly and consistently.
Tools and Materials You’ll Need
Before you start, kindly keep the following tools and materials with you:
● Distilled or filtered water
● Lint-free microfiber cloths or coffee filters
● Isopropyl alcohol (optional)
● Gloves (to protect your hands from ink and cleaning solutions)
● Empty container
● Protective covering for your workspace
Step-by-Step Guide to Cleaning the Printhead
Go through the following steps to clean the printhead of your HP Officejet Pro 8600 printer:
Step 1: Prepare the Printer
Firstly turn off your printer and remove the plug from the primary power source. This will help in avoiding any potential accidents while you’re cleaning the printhead. Also, ensure that you’re cleaning the printhead on a clean and plain surface.
Step 2: Access the Printhead
Open the printer’s top cover to access the printhead. Wait until the printhead comes to the center of the printer, at a point where you can easily work on it.
Step 3: Remove Ink Cartridges
Gently remove the ink cartridges from the printhead. Keep them aside on a clean and clear surface, and do not touch the printhead or the nozzles.
Step 4: Inspect the Printhead
Carefully examine the printhead for any visible dirt, dried ink, or debris. If you notice significant buildup, it’s time to proceed with the cleaning process.
Step 5: Initial Cleaning with Water
Moisten a lint-free microfiber cloth or a coffee filter with distilled or filtered water. Gently wipe the printhead nozzles in one direction to remove any loose debris. Avoid using excessive force, as you could damage the delicate components.
Step 6: Deep Cleaning (Optional)
You can use isopropyl alcohol to clean the area more thoroughly if the initial water washing doesn’t fix the problem. Use isopropyl alcohol to dampen a clean cloth and gently wipe the printhead nozzles. To avoid harm, be sure to use a minimal amount of alcohol.
Step 7: Let the Printhead Dry
After cleaning, allow the printhead to air dry completely. This ensures that no moisture remains, which could potentially damage the printer or affect print quality.
Step 8: Reinsert the Ink Cartridges
Once the printhead is dry, carefully reinsert the ink cartridges into their respective slots. Ensure they are appropriately seated and securely in place.
Step 9: Perform a Test Print
Close the printer’s top cover and plug it back into the power source. To see if the print quality has improved, turn on the printer and print a test page. To further improve print quality, if necessary, execute a printhead cleaning cycle through the printer’s software.
Step 10: Regular Maintenance
To prevent future printhead issues, it’s essential to perform regular maintenance on your HP Officejet Pro 8600 printer. This includes printing regularly (to keep the ink flowing), using high-quality ink cartridges, and keeping the printer’s environment clean and dust-free.
Conclusion
Cleaning the printhead of your HP Officejet Pro 8600 printer is a straightforward process that can significantly improve print quality and extend the life of your device. The step-by-step instructions provided in this blog post will help you maintain optimal print quality and guarantee that your prints always turn out clear and vivid. To enjoy hassle-free printing for years to come, keep in mind that regular maintenance and good care are essential.
Related content:


